
Socks are one of the most personal items of clothing. They keep our feet warm, absorb sweat, and they protect our shoes from wear and tear. And yet, for all their utility, socks are often treated as an afterthought when it comes to fashion.
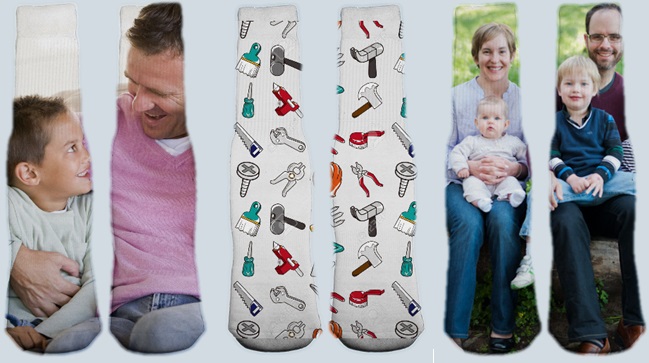
That’s why custom photo socks are such a fun and unique way to show off your personality. Making custom photo socks is easy with the right tools and a little bit of creativity. First, you’ll need to find a good quality pair of socks that fit well and are comfortable to wear.
Next, you’ll need to choose a photo or design that you want to have printed on your socks. Once you have your image selected, you’ll need to use an online sock printing service to upload your image and place your order.
Once your custom photo socks arrive, simply slip them on and enjoy showing off your one-of-a-kind style!
- Decide on the size of socks you want to make
- Choose a photo that you would like to have printed on the socks
- Find a company that can print photos onto socks
- Send the chosen photo to the company, along with your sock size preferences
- Wait for the custom socks to be made and shipped to you!
How Do I Make Custom Photo Socks?
Assuming you would like a tutorial on how to make custom photo socks: Materials needed: -1/4 yard of stretchy fabric (knit fabric works best) for each sock
-Thread to match your fabric -A sewing machine (or you can hand sew if you prefer) -Scissors
-A pencil or pen -Measuring tape or ruler -Pins
Instructions: 1. Wash and dry your fabric before you begin cutting. This will pre-shrink the fabric so that your socks don’t shrink when you wash them later.
If your fabric is already cut, skip this step. 2. Cut two rectangles out of your fabric, each measuring 9”x4”. These will be the front and back pieces of your sock.

Then, cut two more rectangles out of your fabric, each measuring 3”x4”. These will be the side panels of your sock. 3. Fold one long edge of each rectangle over by ½ an inch, and pin in place.
Sew along the pinned edge with a straight stitch using thread that matches your fabric.
Do this for all four rectangles. 4a) to make the heel pocket, take one of the larger rectangles (the back piece) and fold it in half lengthwise so that the short sides meet. Pin in place along the raw edges. Sew along the pinned edge with a zigzag stitch using thread that matches your fabric. Trim off any excess threads.
Repeat for another large rectangle (the front piece). You should now have two heel pockets. 4b). Or alternatively, you can simply hem one long edge of each large rectangle by folding it over by ½ an inch and sewing along the pinned edge with a straight stitch using thread that matches your fabric.
This will create a clean look but won’t provide as much padding for your foot. 5). Place one small rectangle on top of one large rectangle, matching up the raw edges all around and pinning it into place.
Sew along both raw edges with a zigzag stitch using thread that matches your fabric. Repeat for remaining small and large rectangles. You should now have two semis – circular side seams. 6). Now it’s time to add your sock design!
Conclusion
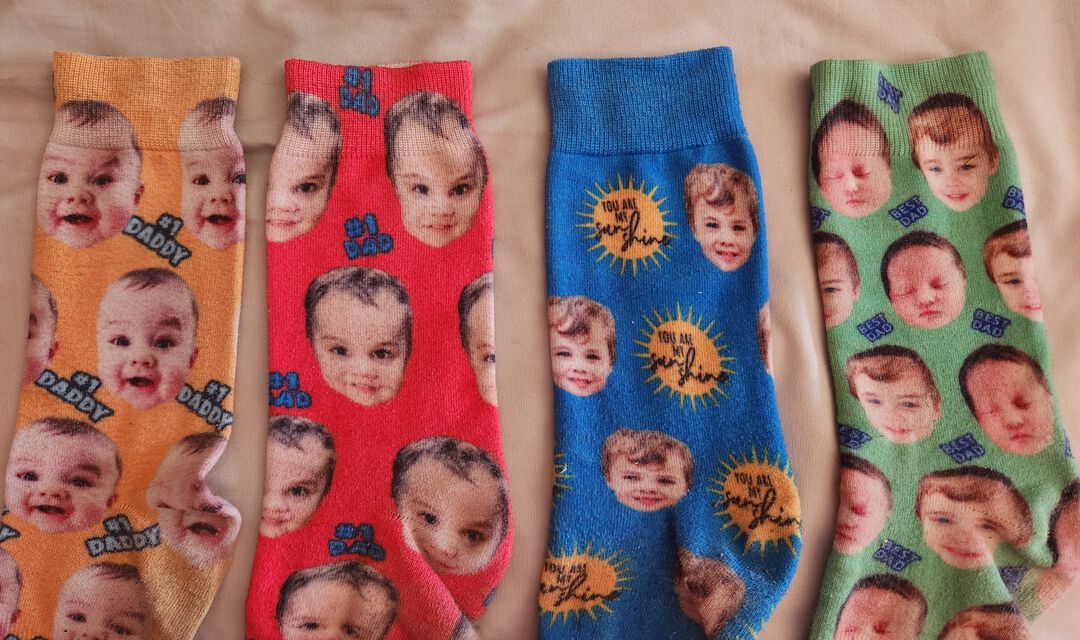
Assuming you would like a summary of the blog post titled How to Make Custom Photo Socks? This sock design company offers a unique opportunity to create custom photo socks. Customers simply upload a photo, choose their sock size and style, and enter shipping information.
The site offers several sock styles including crew, ankle, no show, and knee-high. Custom photo socks make great gifts for any occasion!
