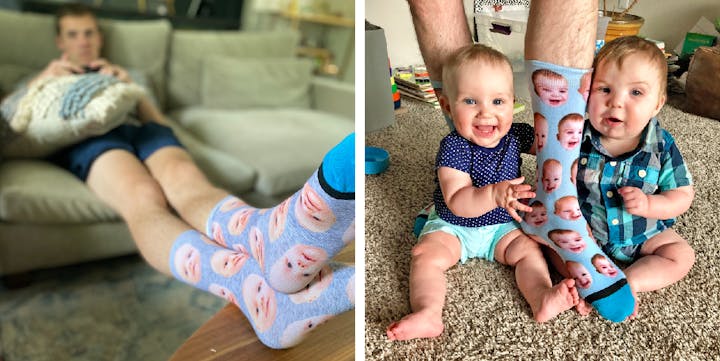
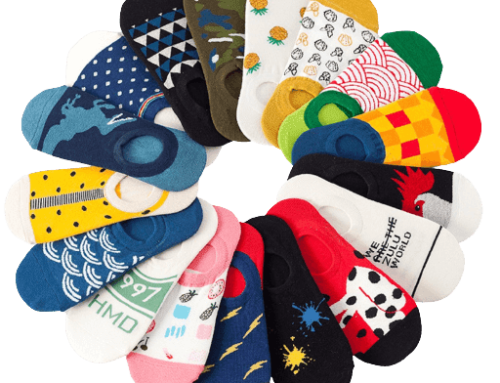
Custom socks offer a fantastic way to express your personal style and add a unique touch to your wardrobe. By creating your own custom socks, you can showcase your creativity and individuality. Seven-step process on how to make custom socks, empowering you to design and craft your own wearable masterpieces.
Step 1: Gather Your Materials
To embark on your custom sock-making journey, you will need a few essential materials:
- Plain socks (preferably white or light-colored)
- Fabric markers or fabric paint
- Stencils or templates (Not Mandatory)
- Fabric glue (Not Mandatory)
- Paintbrushes
- Scissors
- Iron and ironing board
Step 2: Plan Your Design
Before diving into the creative process, it’s helpful to plan your design. Consider the colors, patterns, and motifs you want to incorporate into your socks. LSI keyword: “custom sock design ideas.”
Step 3: Prep Your Socks
Wash and dry your plain socks to ensure a clean canvas for your design. If you prefer a specific sock length, you can cut or fold the socks accordingly.
Step 4: Start Designing
Now it’s time to let your creativity flow! Use fabric markers or paint to draw your design directly onto the socks. You can also use stencils or templates for more precise patterns. Experiment with various colors and techniques to achieve the desired effect.
Step 5: Let It Dry
Allow your newly designed socks to air dry or follow the instructions on your fabric markers or paint for any specific drying requirements.
Step 6: Set the Design
To make your custom socks more durable, set the design by ironing them. Place a clean cloth or parchment paper over the design and iron it on a low heat setting for a few minutes. This process helps to set the colors and prevents them from fading or washing out.
Step 7: Final Touches
Once your socks are dry and the design is set, you can add final touches if desired. Consider embellishing your socks with fabric glue and decorative elements like rhinestones or sequins for an extra touch of flair.
Can I use any type of socks for custom designs?
It’s best to use plain socks made of cotton or a cotton blend as they provide a smooth surface for the design to adhere to. Avoid using socks with heavy textures or patterns as they may interfere with the customization process.
How long does it take for the fabric markers or paint to dry?
Drying time can vary depending on the brand and type of fabric markers or paint used. Generally, it takes around 1-2 hours for the design to dry completely. However, it’s recommended to follow the instructions provided by the manufacturer to ensure proper drying.
Are fabric markers or fabric paint more suitable for customizing socks?
Both fabric markers and fabric paint can be used for customizing socks. Fabric markers offer more precision and control for detailed designs, while fabric paint allows for broader strokes and blending of colors. Choose the medium that suits your design preferences and skill level.
Can I wash the custom socks after designing them?
Yes, you can wash the custom socks after designing them. However, it’s advisable to hand wash them or use a gentle cycle on your washing machine to preserve the design. Turn the socks inside out before washing to further protect the design.
How do I prevent the design from fading over time?
To prevent the design from fading, follow these tips:
- Wash the socks in cold water and use mild detergent.
- Avoid using bleach or harsh chemicals.
- Air dry the socks or use a low heat setting in the dryer.
- If necessary, iron the socks inside out on a low heat setting.
Can I use pre-made stencils or templates for my designs?
Absolutely! Pre-made stencils or templates are a great tool for creating uniform and intricate designs on your custom socks. They can help you achieve more professional-looking results, especially if you’re new to sock customization.
Are there any specific tips for creating intricate designs on socks?
When creating intricate designs, consider the following tips:
- Use fine-tipped fabric markers for precise lines and details.
- Practice your design on paper or a spare piece of fabric before applying it to the socks.
- Take your time and work slowly to ensure accuracy.
- Use masking tape or painter’s tape to create clean edges and boundaries for your design.
- If needed, use a magnifying glass or additional lighting to aid in creating intricate details.
Remember, custom sock making is a creative process, so feel free to experiment and explore different techniques to achieve the desired results. Enjoy the journey of designing your own unique pair of socks!
Final Voice
Making custom socks is a fun and rewarding DIY project that allows you to showcase your unique style. By following the seven-step process outlined in this guide, you can create personalized socks that reflect your personality and artistic vision.
So, grab your materials, let your imagination soar, and embark on a creative journey to design your own custom socks today!


